How To: Build an Inexpensive Paint Box
I’ve recently started working with gouache and want a small plein air set-up to use with that medium. It needs to be light, fit in a small daypack, and be quick to set-up. It would mount to a tripod and ideally also work on a table-top, in my lap, or sitting in the car. It would have an area to tape paper to and maybe the ability to hold small panels. The work area would have a small mixing palette, and maybe a way to hold a water bucket. I did not want it to carry my paints, brushes, or any other painting supplies.
There are many types of plein air systems available, but the type that is most suited my requirements is a small clamshell style paint box that looks a bit like a laptop. I thought it would be fun to build my own and post some rough directions. If you are interested, some commercially available options of this style are the Open Box M, Strada (Box Style), Alla Prima Lite Pochade Boxes, New Wave U.Go Plein Air Pochade Box, Guerrilla Painter (9×12 Guerrilla Box), and Cup Easels.
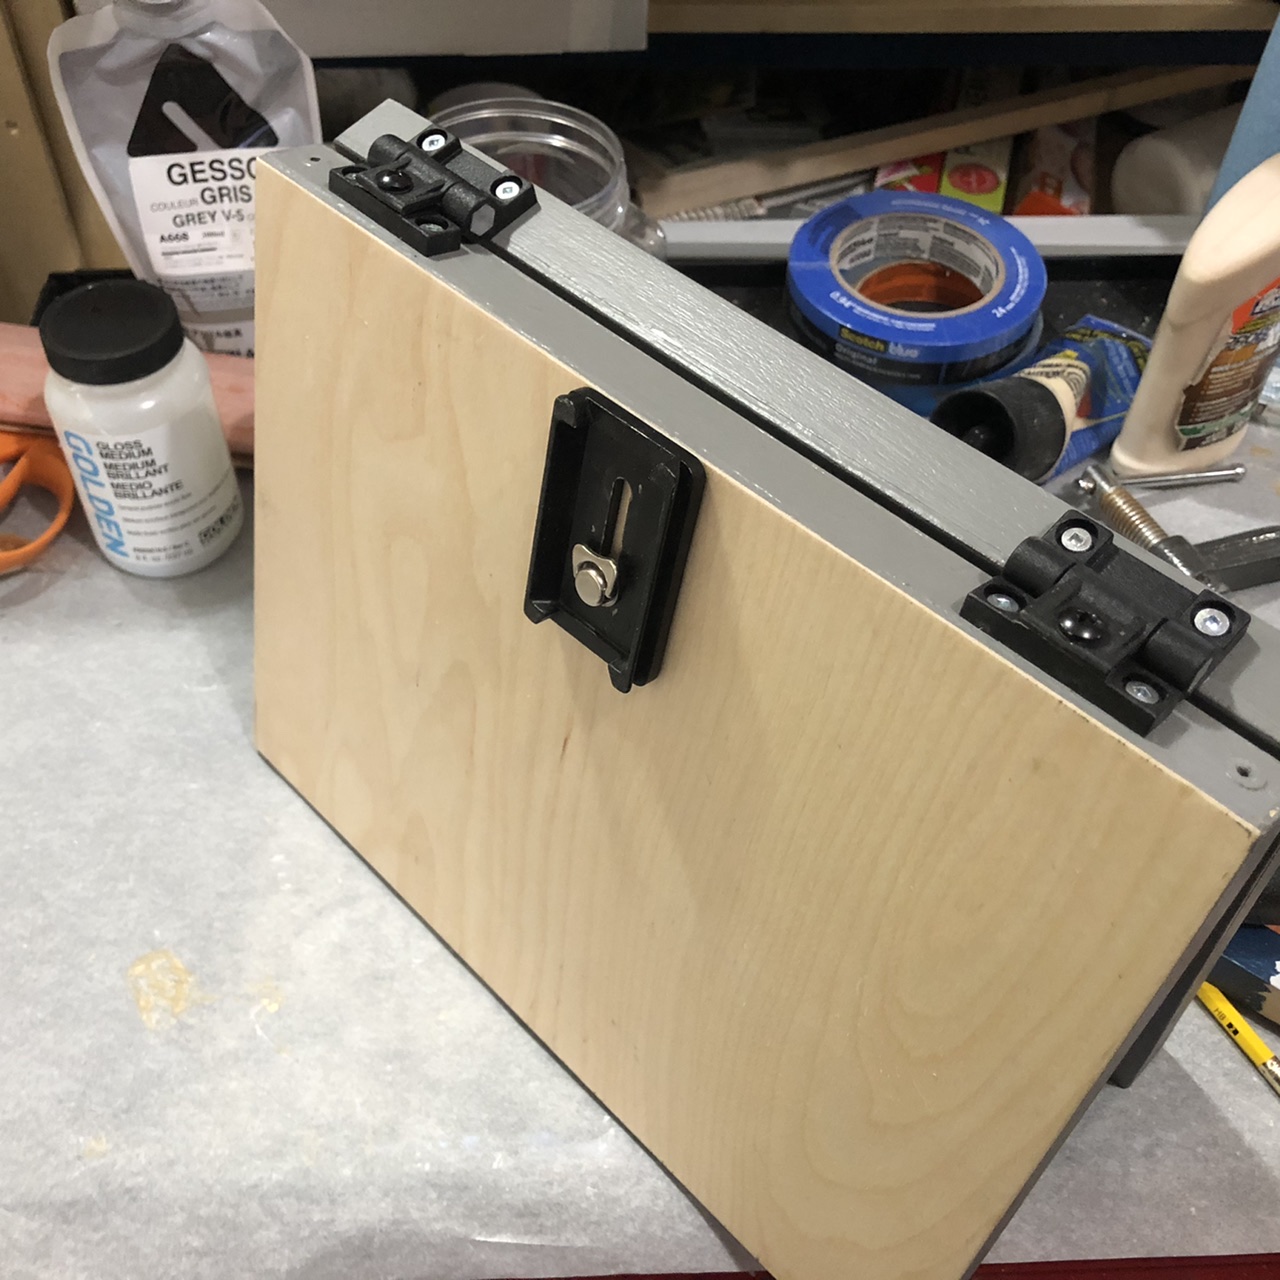
The first problem to solve is how to hold the lid open at the angle you want while painting. The simplest option is to use adjustable friction hinges. These are not available at the local hardware store, but the American made Southco E6-10-301-20 can be found easily online for about $23 (CDN). Amazon also carries knock offs by uxcell and others for half the price.
The hinges need some material to attach to, which means you need a couple of shallow boxes. If you paint on cradled wood panels, you will know that these are inexpensive, light, and durable. I had a couple 9″x12″x3/4″ Opus Exhibition Cradled Wood Panels on hand, which looked perfect. These retail for $13.30 (CDN) and are often on sale for 15-20% off. Most quality local art stores will have something similar.
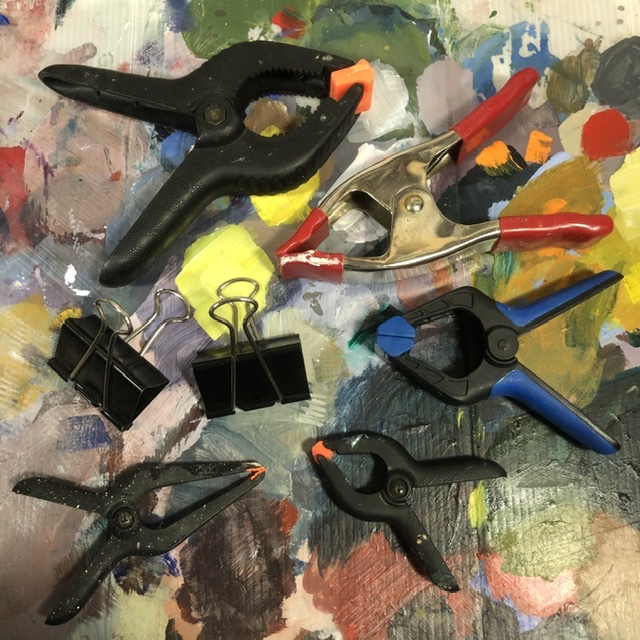
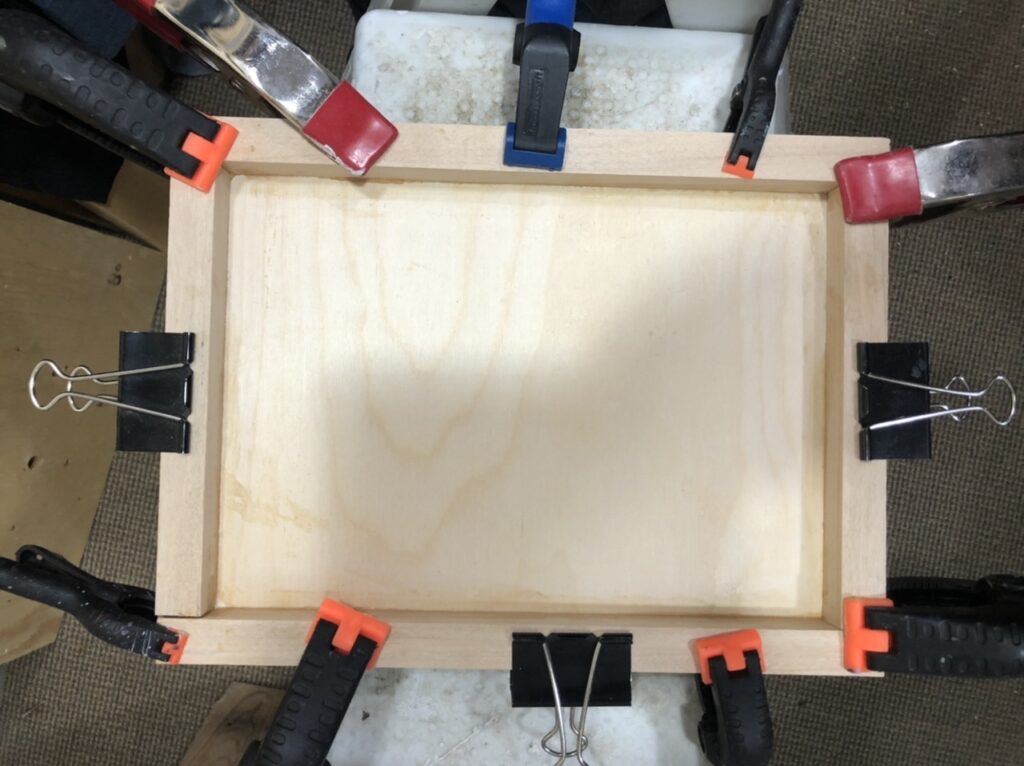
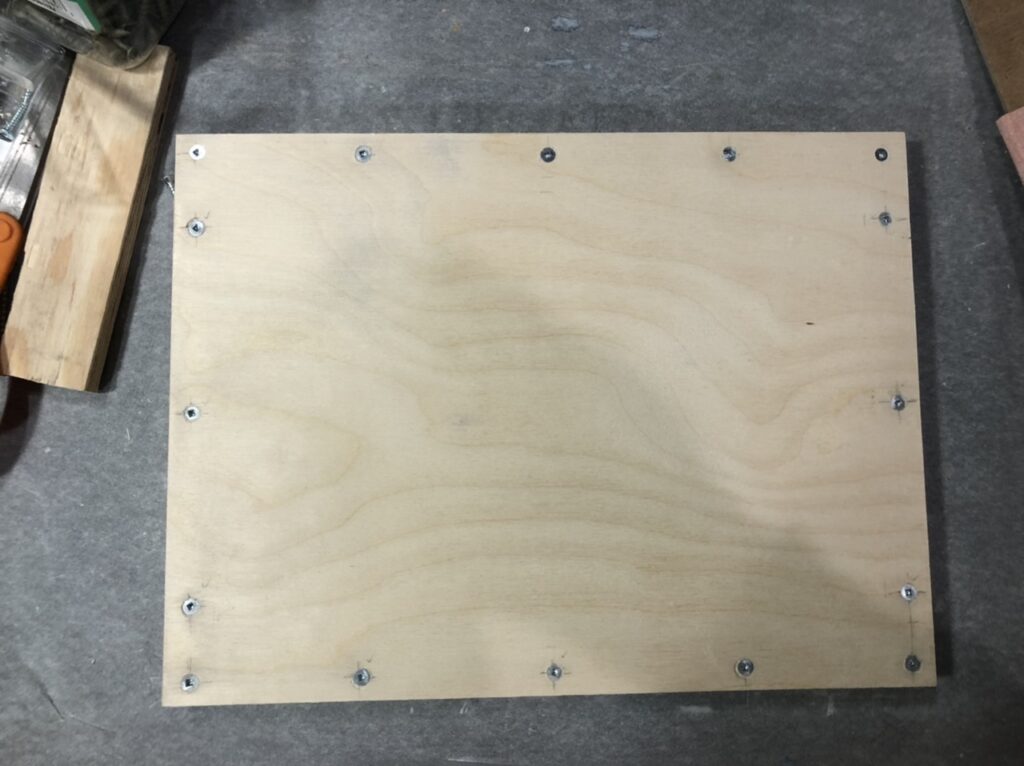
I also had some 9x12x1/8″ birch plein air panels that were warped, so I decided to add cradles to them instead. This was a matter of cutting some 3/4″ square dowels from the hardware store and attaching them to the panel. On the bottom, I used a good quality waterproof carpenter glue and a handfull of small spring clamps and binder clips. I am thinking about making a panel holding mechanism of some sort, so for the upper box, I just screwed the panel to the cradles to leave my options open.
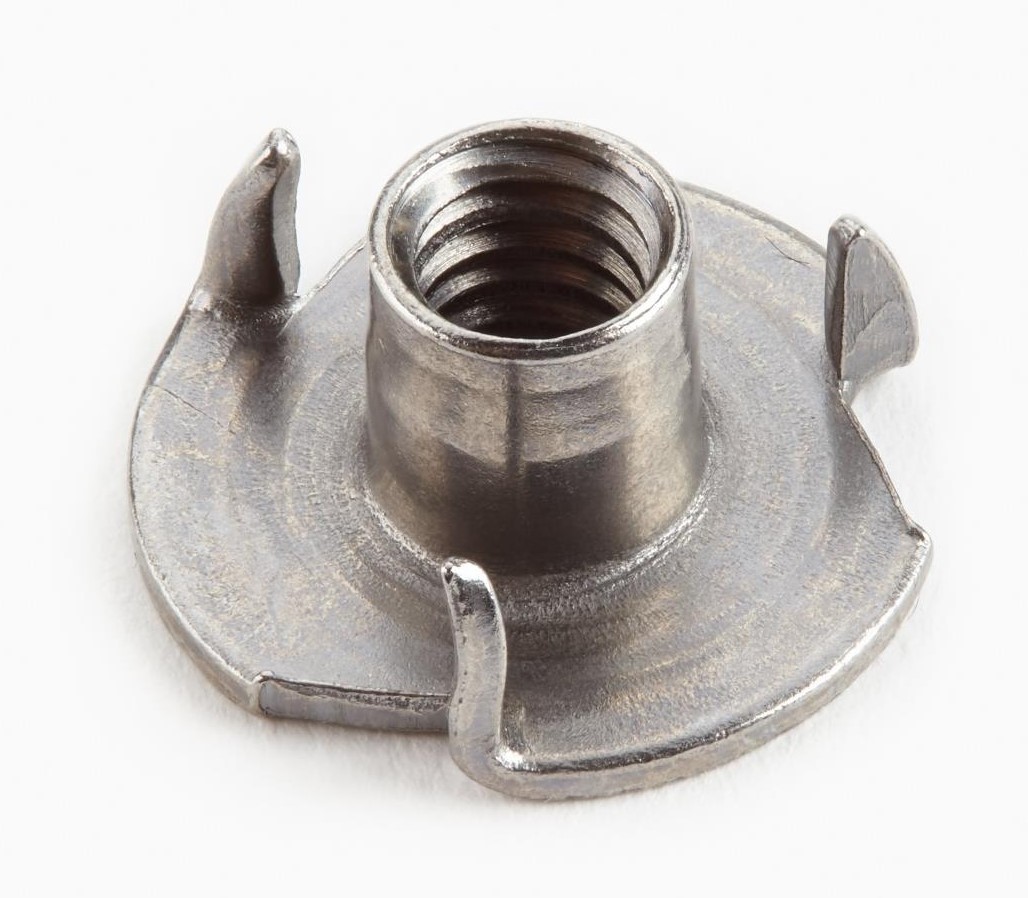
Now, we need a way to attach the box to a tripod. Fortunately, 1/4″ T-nuts are available for cheap at the local hardware store. Earlier, I bought a bag of 10 Three-Prong T-Nuts (1/4-20 Thread) from Lee Valley Tools for $2.40 (CDN). This goes in the center of the bottom piece, along the back. I cut a 2″x2″ piece of 1/4″ thick plywood for the T-nut to sit in. I marked the location and glued this in with a single spring clamp.
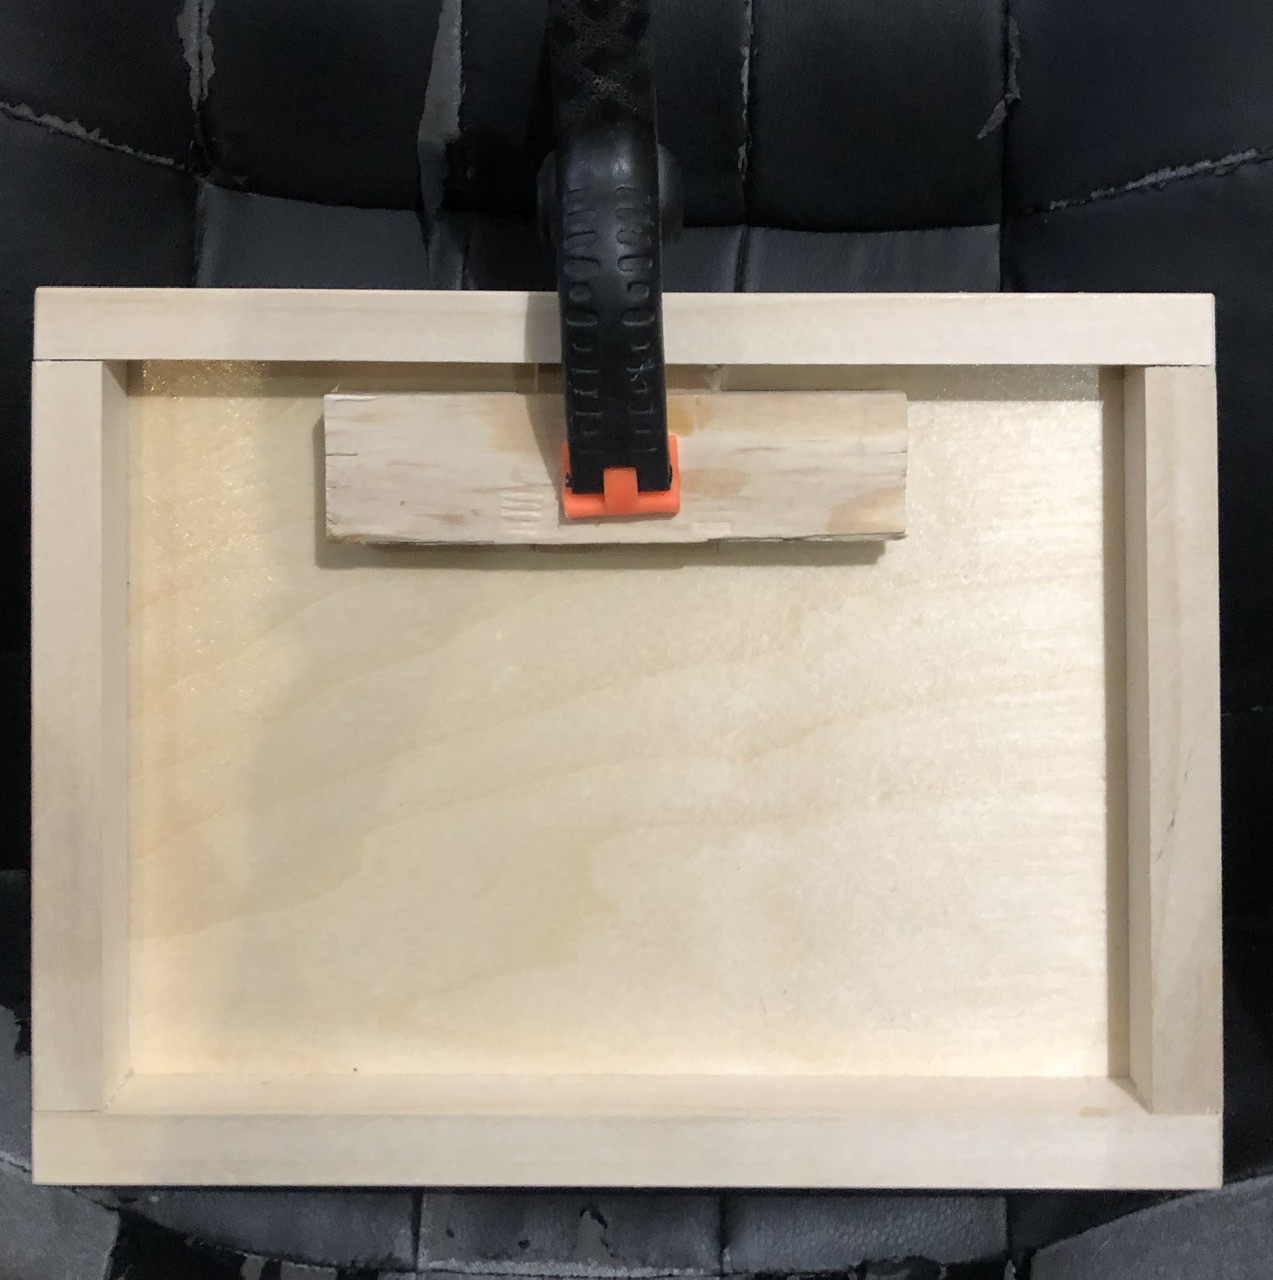
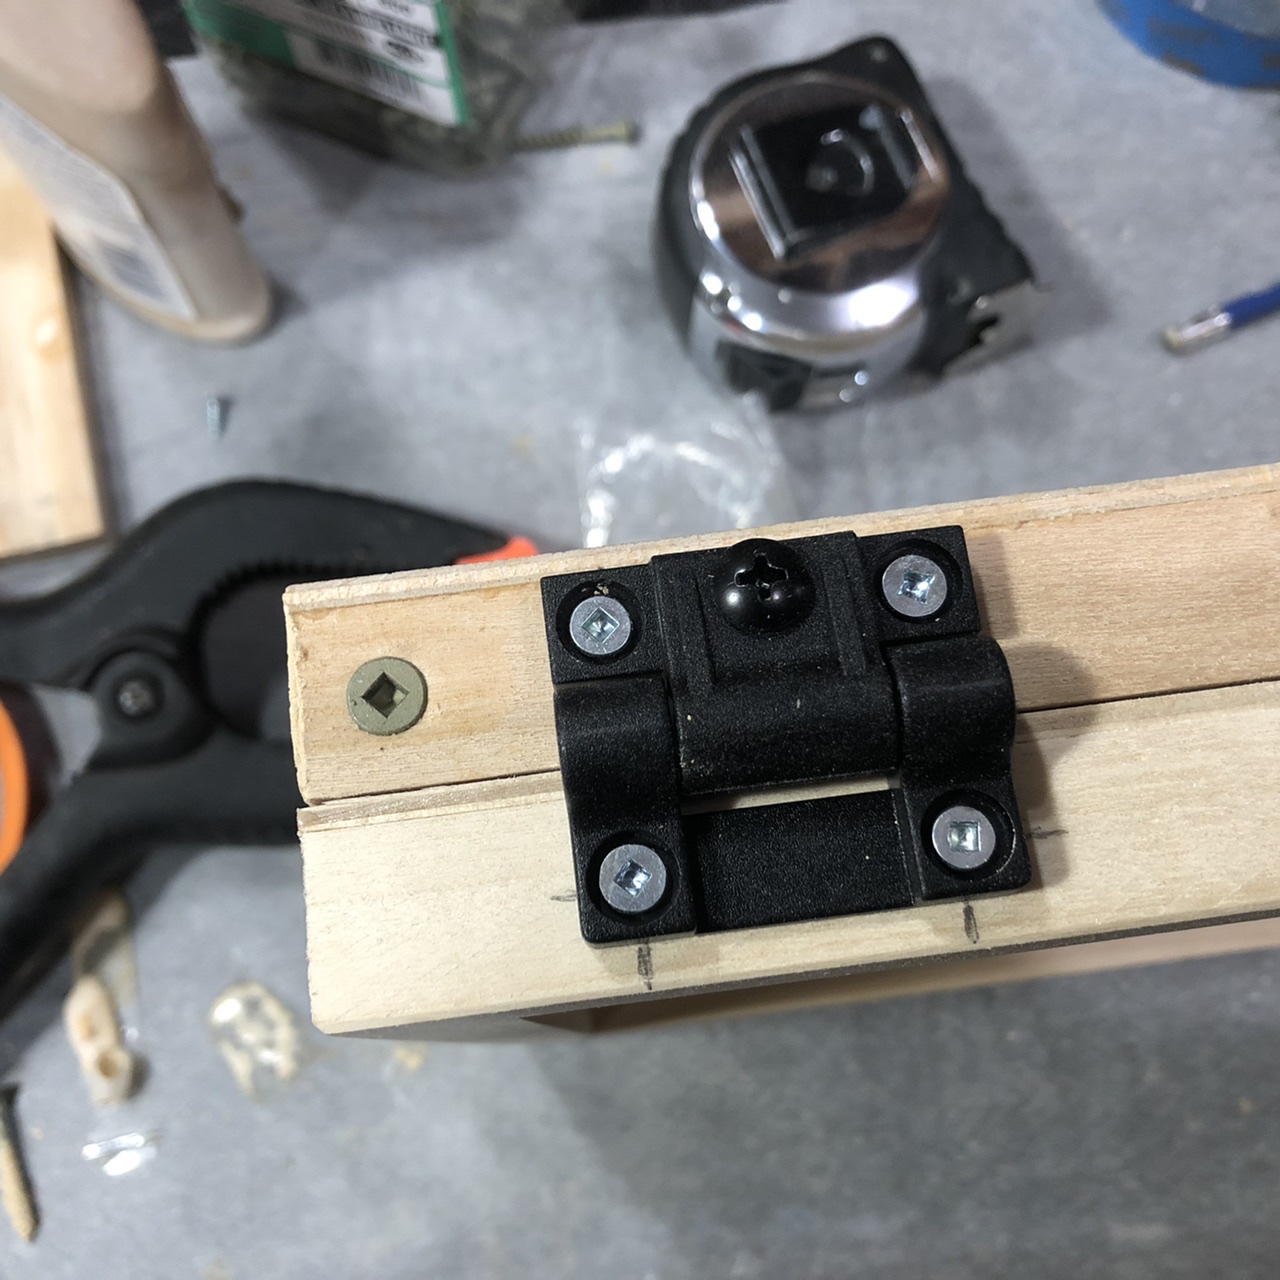
Now that the two halves were completed, I marked out and drilled holes for the hinges, about an inch in from the edges. I assembled the box to ensure everything lined up. Then I took it apart again, to apply a protective coating.
First, I sanded everything, then painted the inside surfaces with some neutral grey acrylic gesso and finally applied several coats of acrylic matt medium over all surfaces to seal it and reduce glare. If you aren’t an acrylic painter and don’t have matt medium at hand, you could also use something like Varathane.
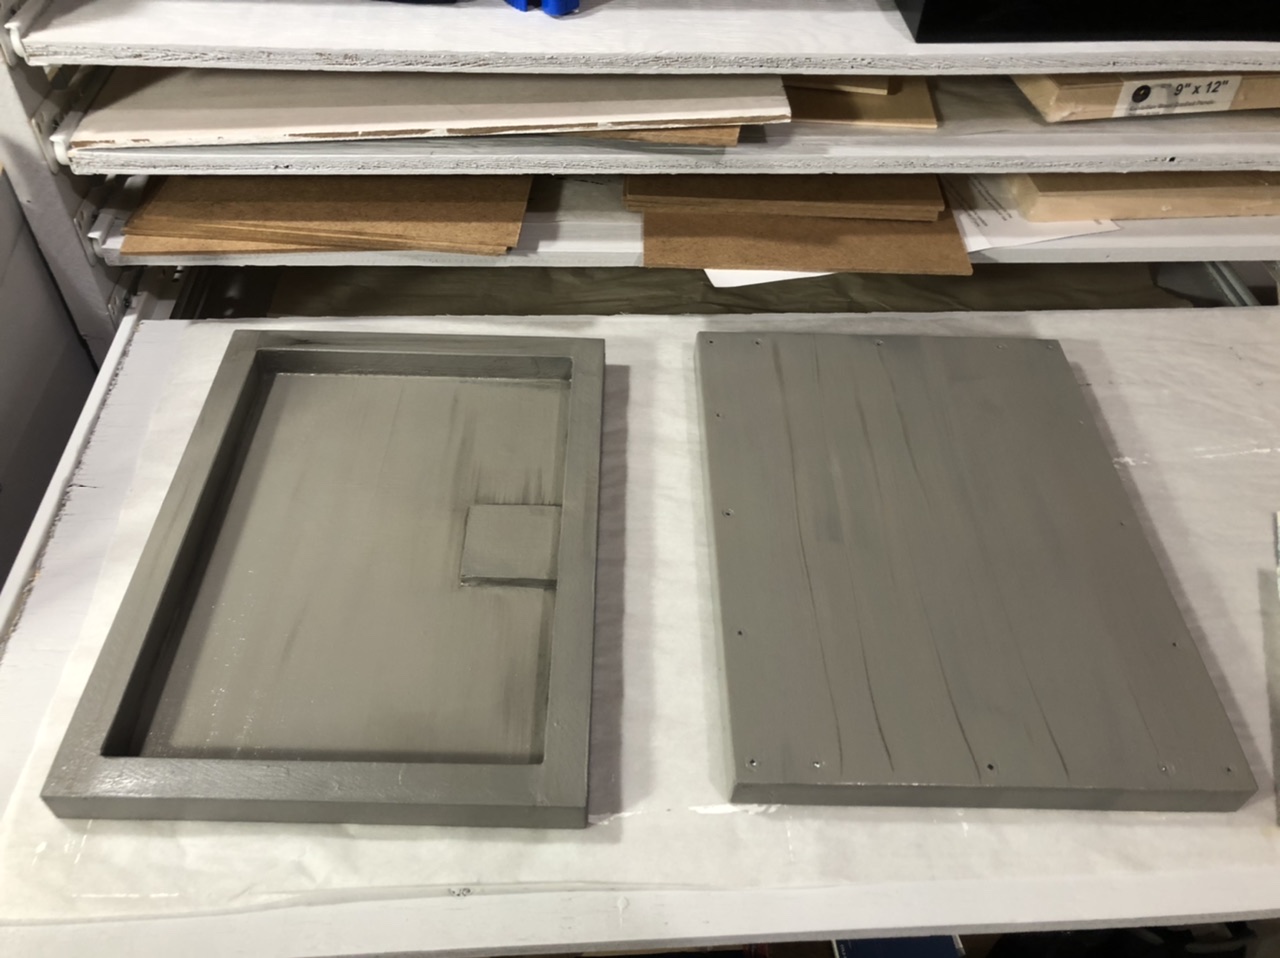
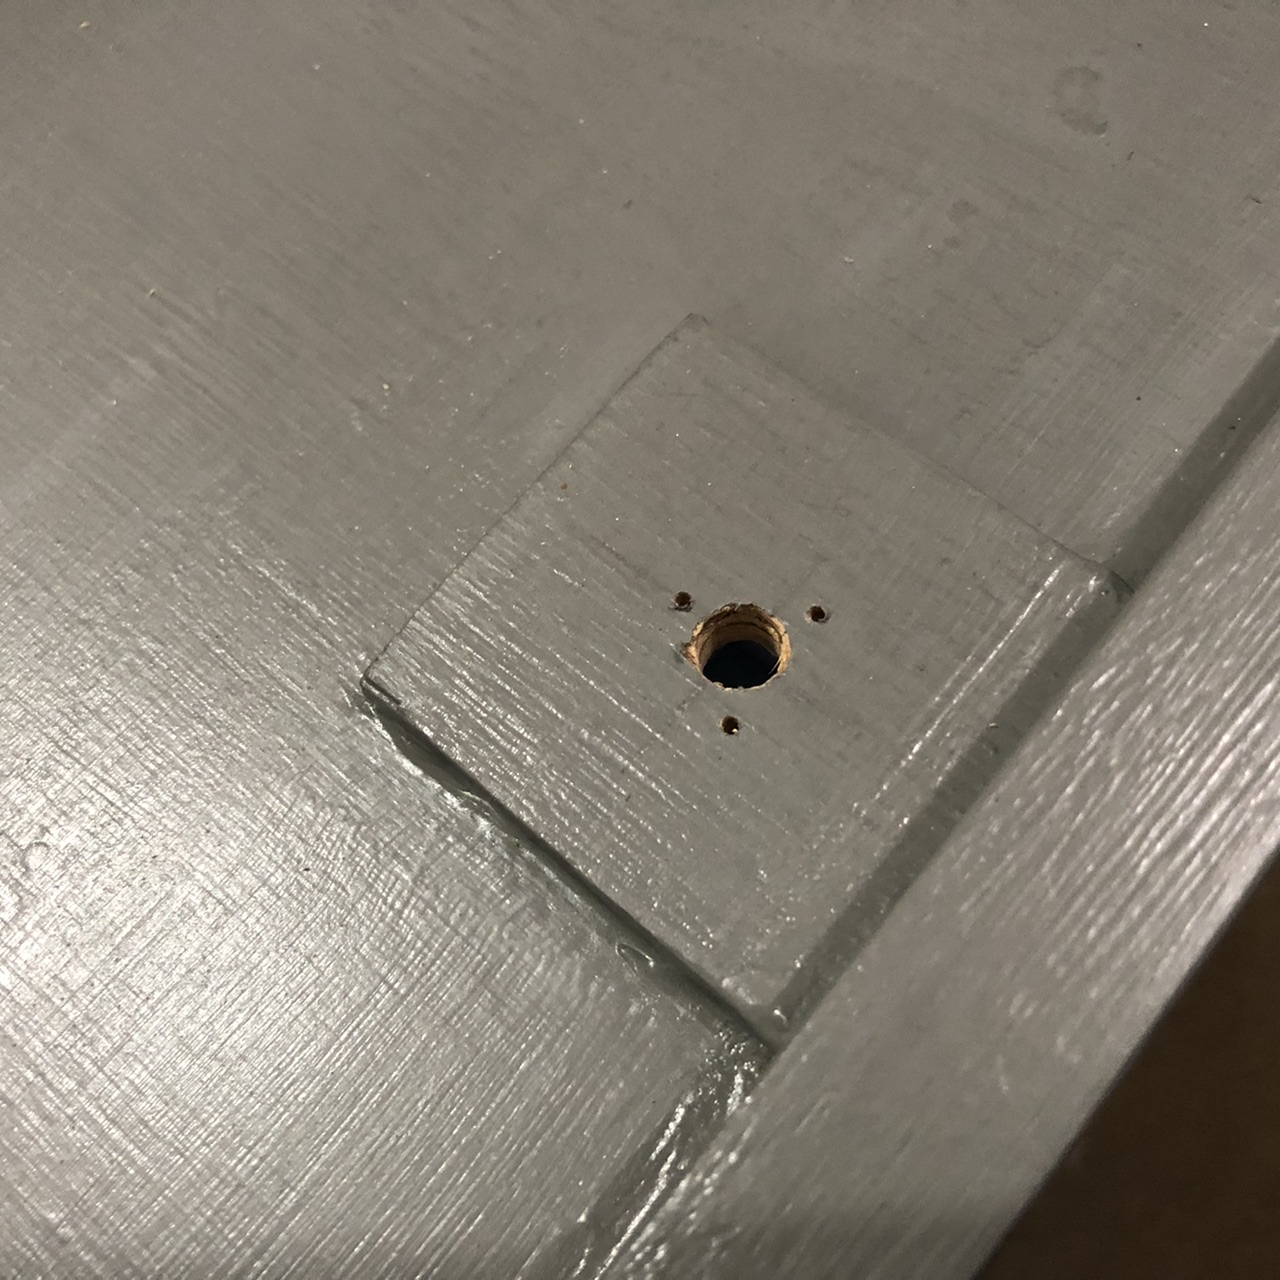
Then, I marked the center of my T-nut pad and drilled a hole the diameter of the T-nut shaft. I placed the T-nut in, pushed down firmly to make marks for the 3 prongs. I used a very small drill bit to drill shallow pilot holes for the prongs. Then, I used a C-clamp to drive the T-nut into place. I made sure to place a small piece of plywood between the bottom of the box and the clamp to avoid making a dent on the bottom.
Finally, I assembled the box, mounted the tripod shoe to the bottom, and put it on the tripod. Happy with how that looked, I cut a piece of corrugated plastic to fit in the bottom of the box for use as my mixing palette, making a small tab out of tape to make removing it easier. This material is used for packaging and for short term signage (political lawn signs, etc.) and makes a fantastic lightweight mixing palette for acrylic and watercolor/gouache. I have a bunch from the packaging for a landscape fountain that we bought several years ago; I have made over a dozen palettes and a panel carrying box and still have some left.
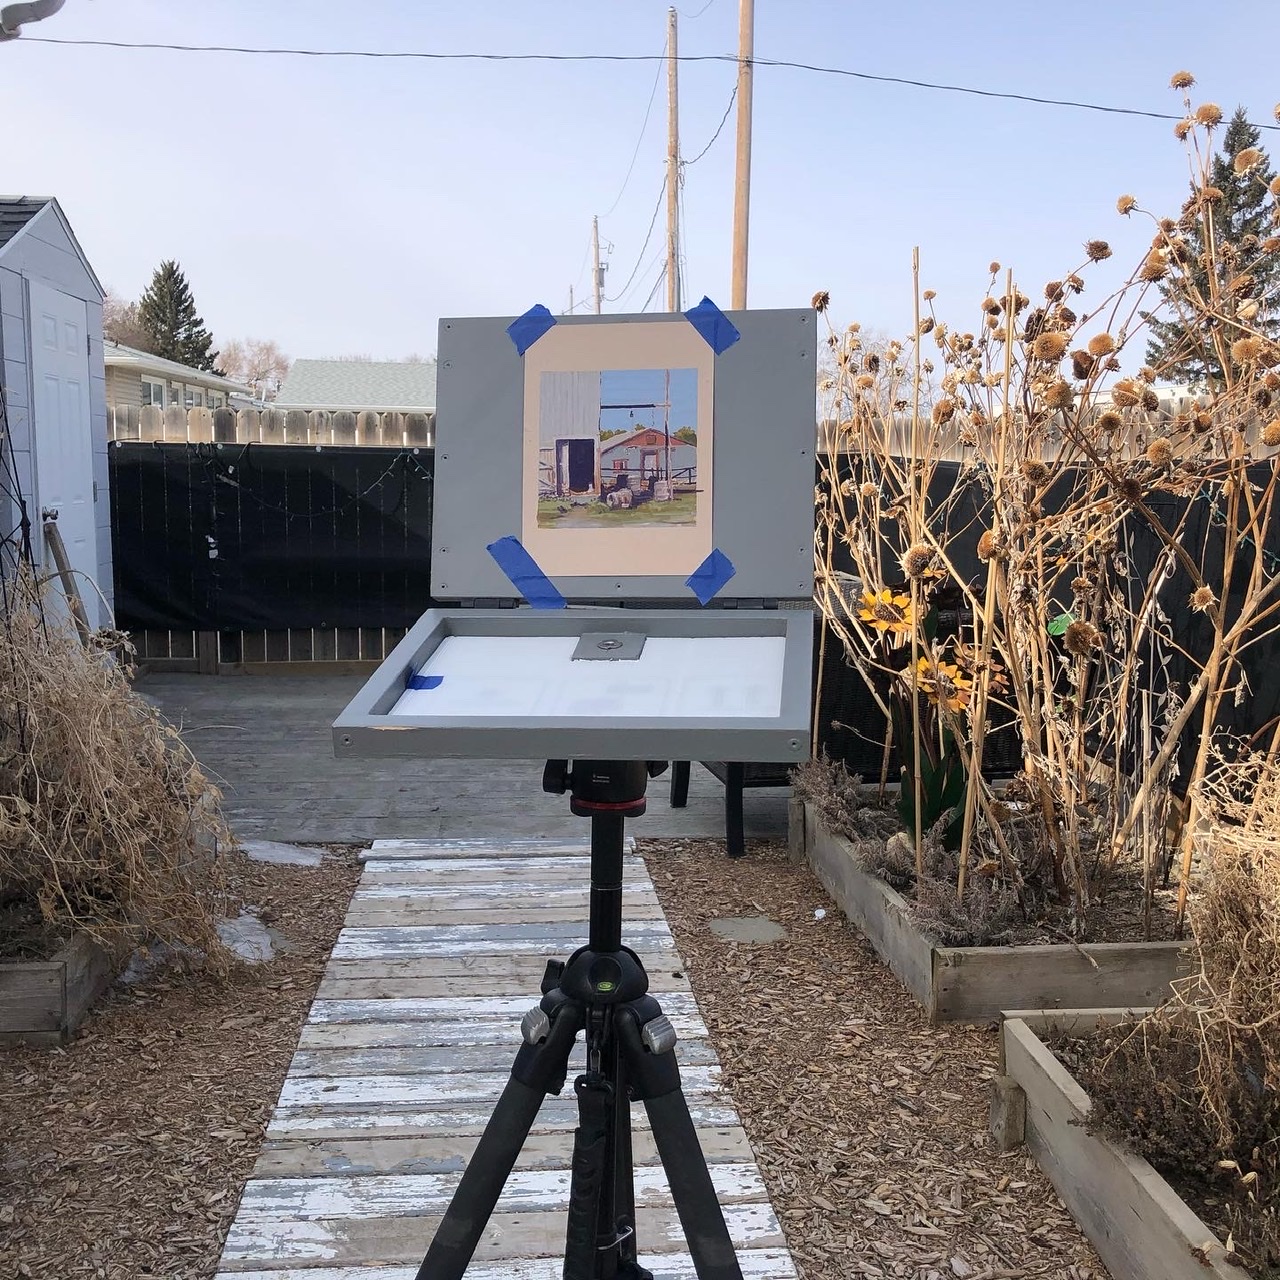
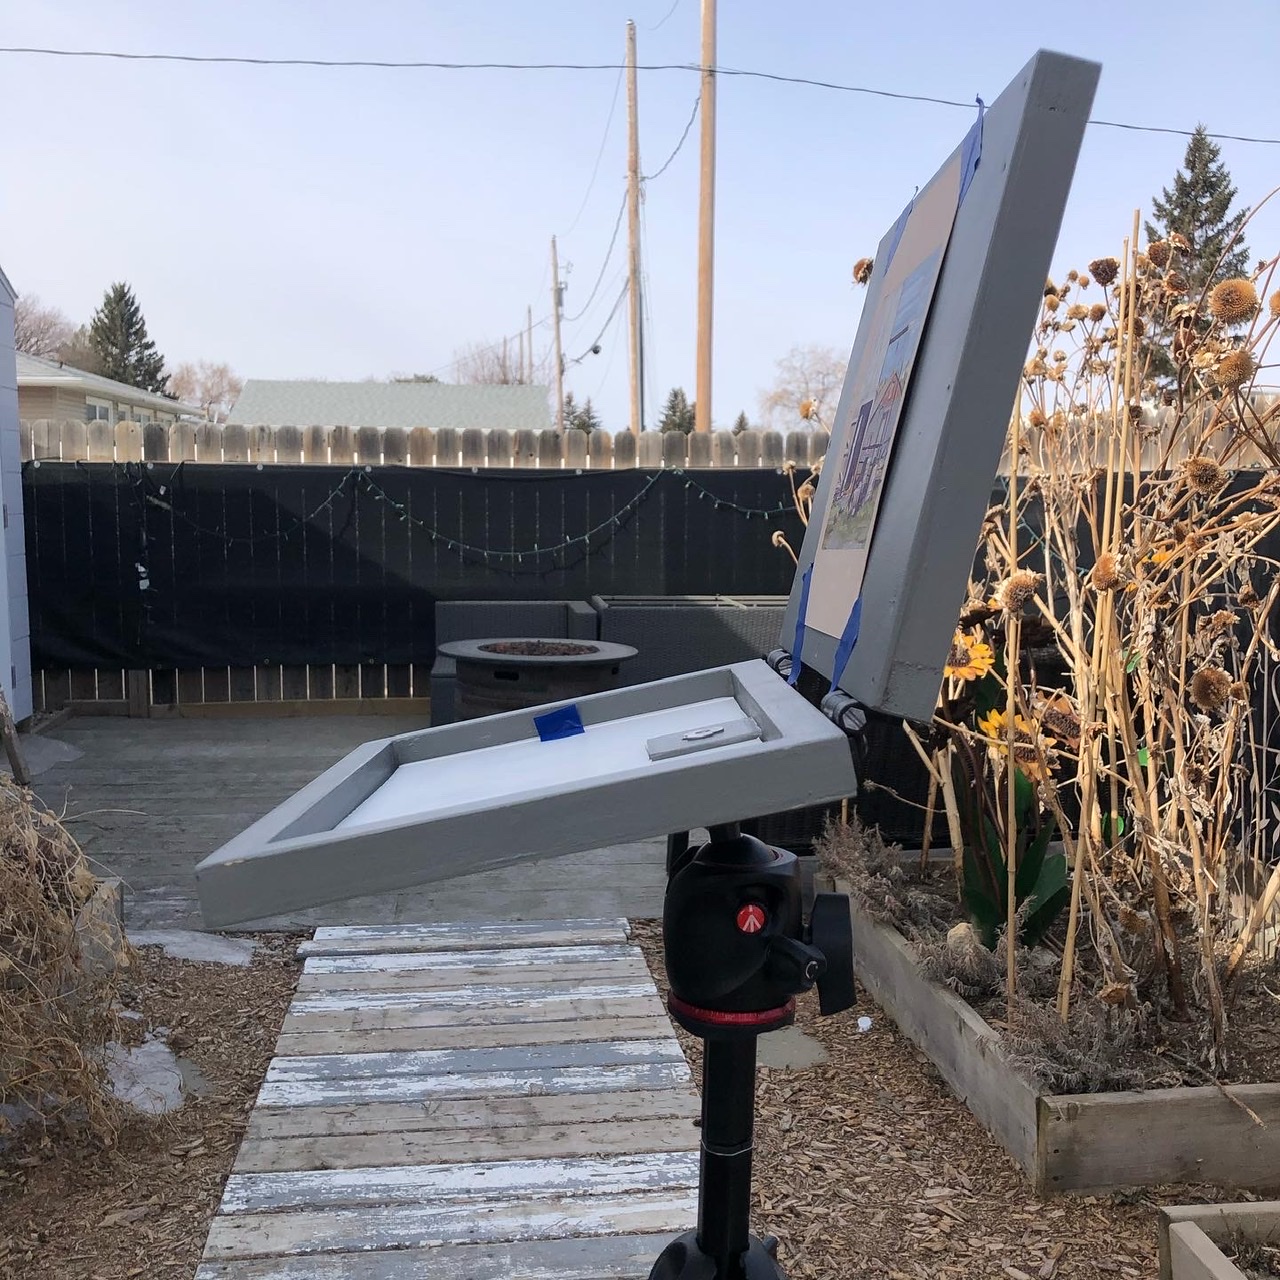
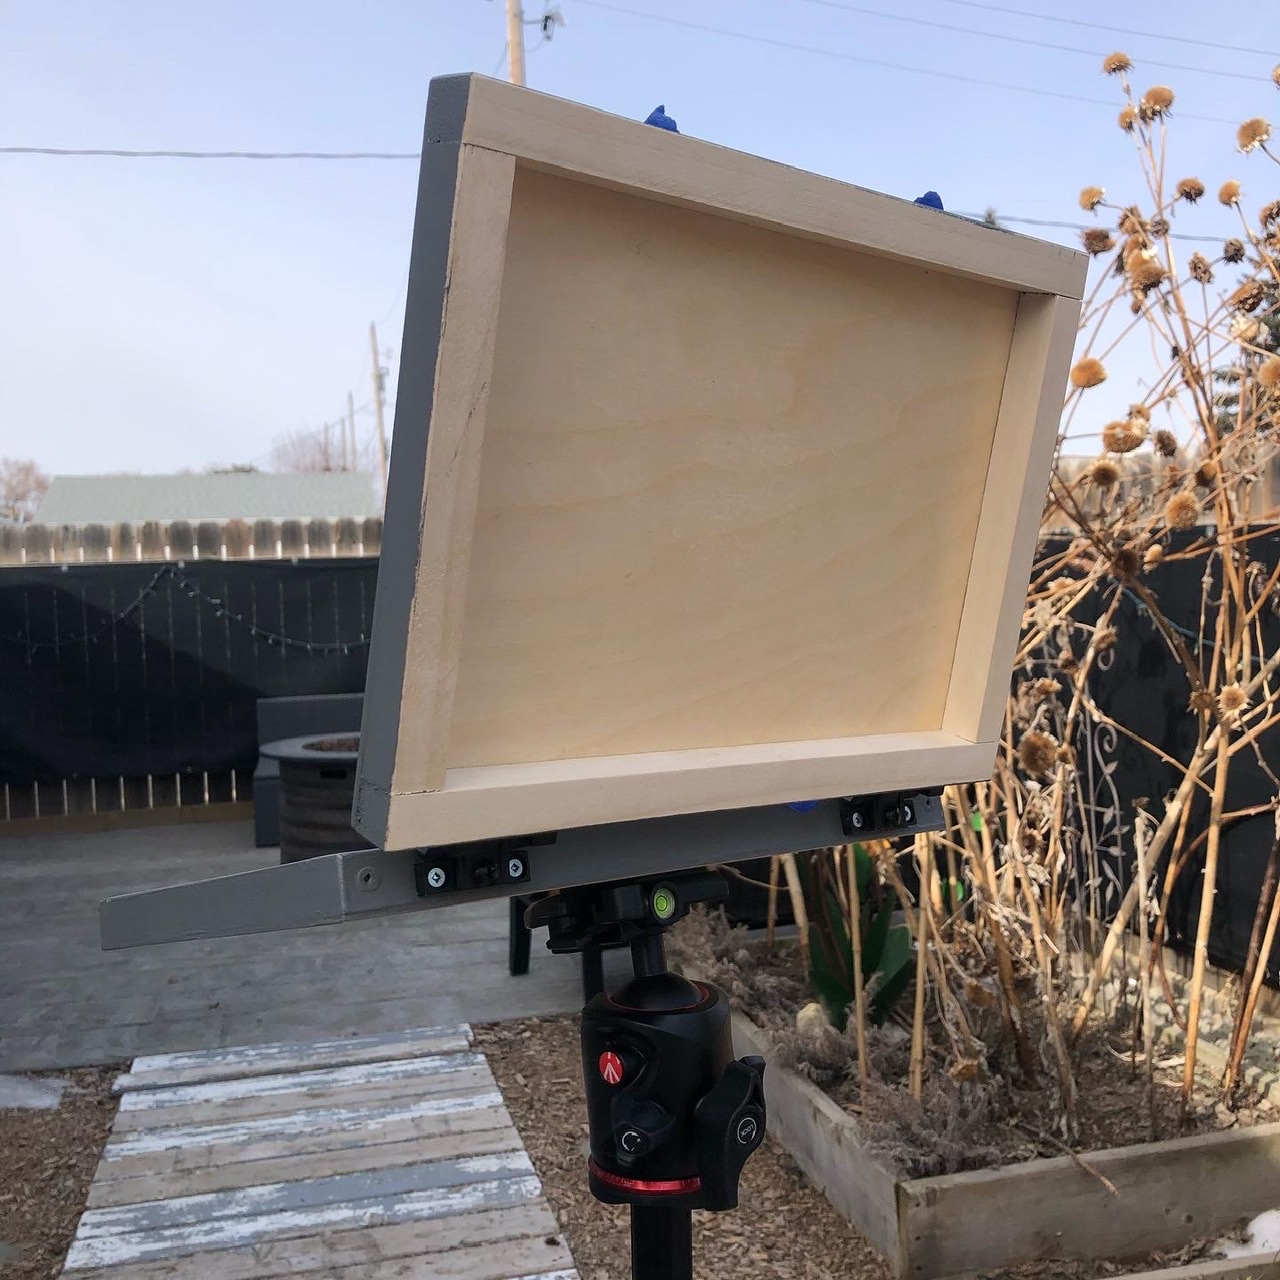
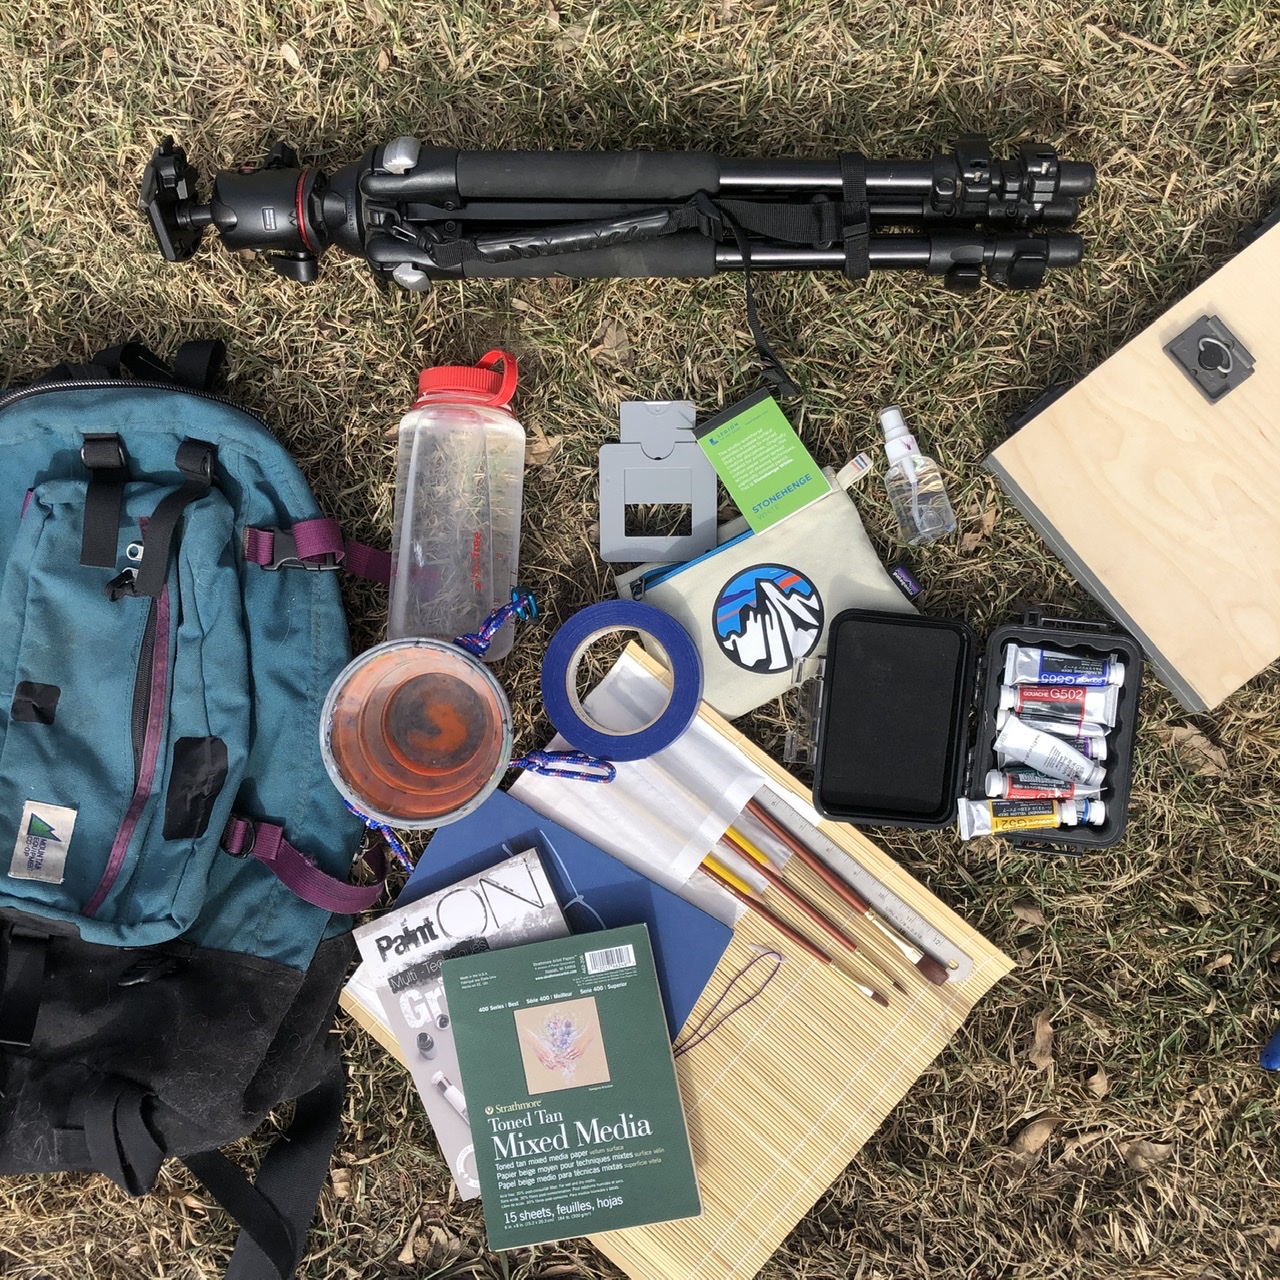
Cost: Hinges (25-45) + Panels (2×13.30) + Hardware (10) + Coating (10) = Roughly $70-90 CDN
My Actual Cost: As I had hinges, panels, coatings already, I just had to buy a few screws and the 3/4″ square dowels = Roughly $20 CDN
Weight: 738g
As I mentioned, I may modify this in the future to add a mechanism for holding 1/8″ panels. I could either tape paper to the panels, or paint directly on the panels. Also, I may look at a little clip on or hinged shelf to hold my water bucket, although it will likely be easier to hang it off of the tripod itself.
These are the ‘medium’ hinge of that series; I might try both the ‘small’ and ‘large’ sizes in the future. The small might allow thinner depth on the box, and the large may let you only use one hinge; I don’t know,
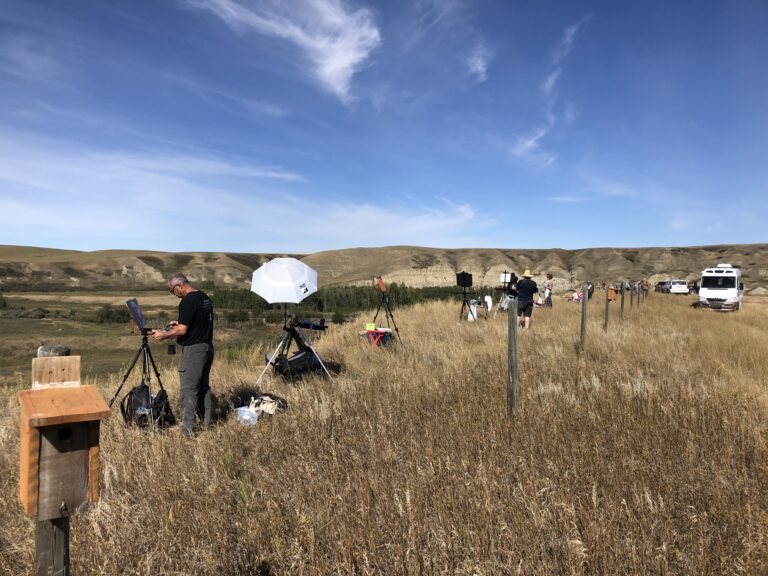
For now, I’ll take this outside for some gouache plein air work and see how it performs, as-is.
~JW
