How To: Custom Glass Palette
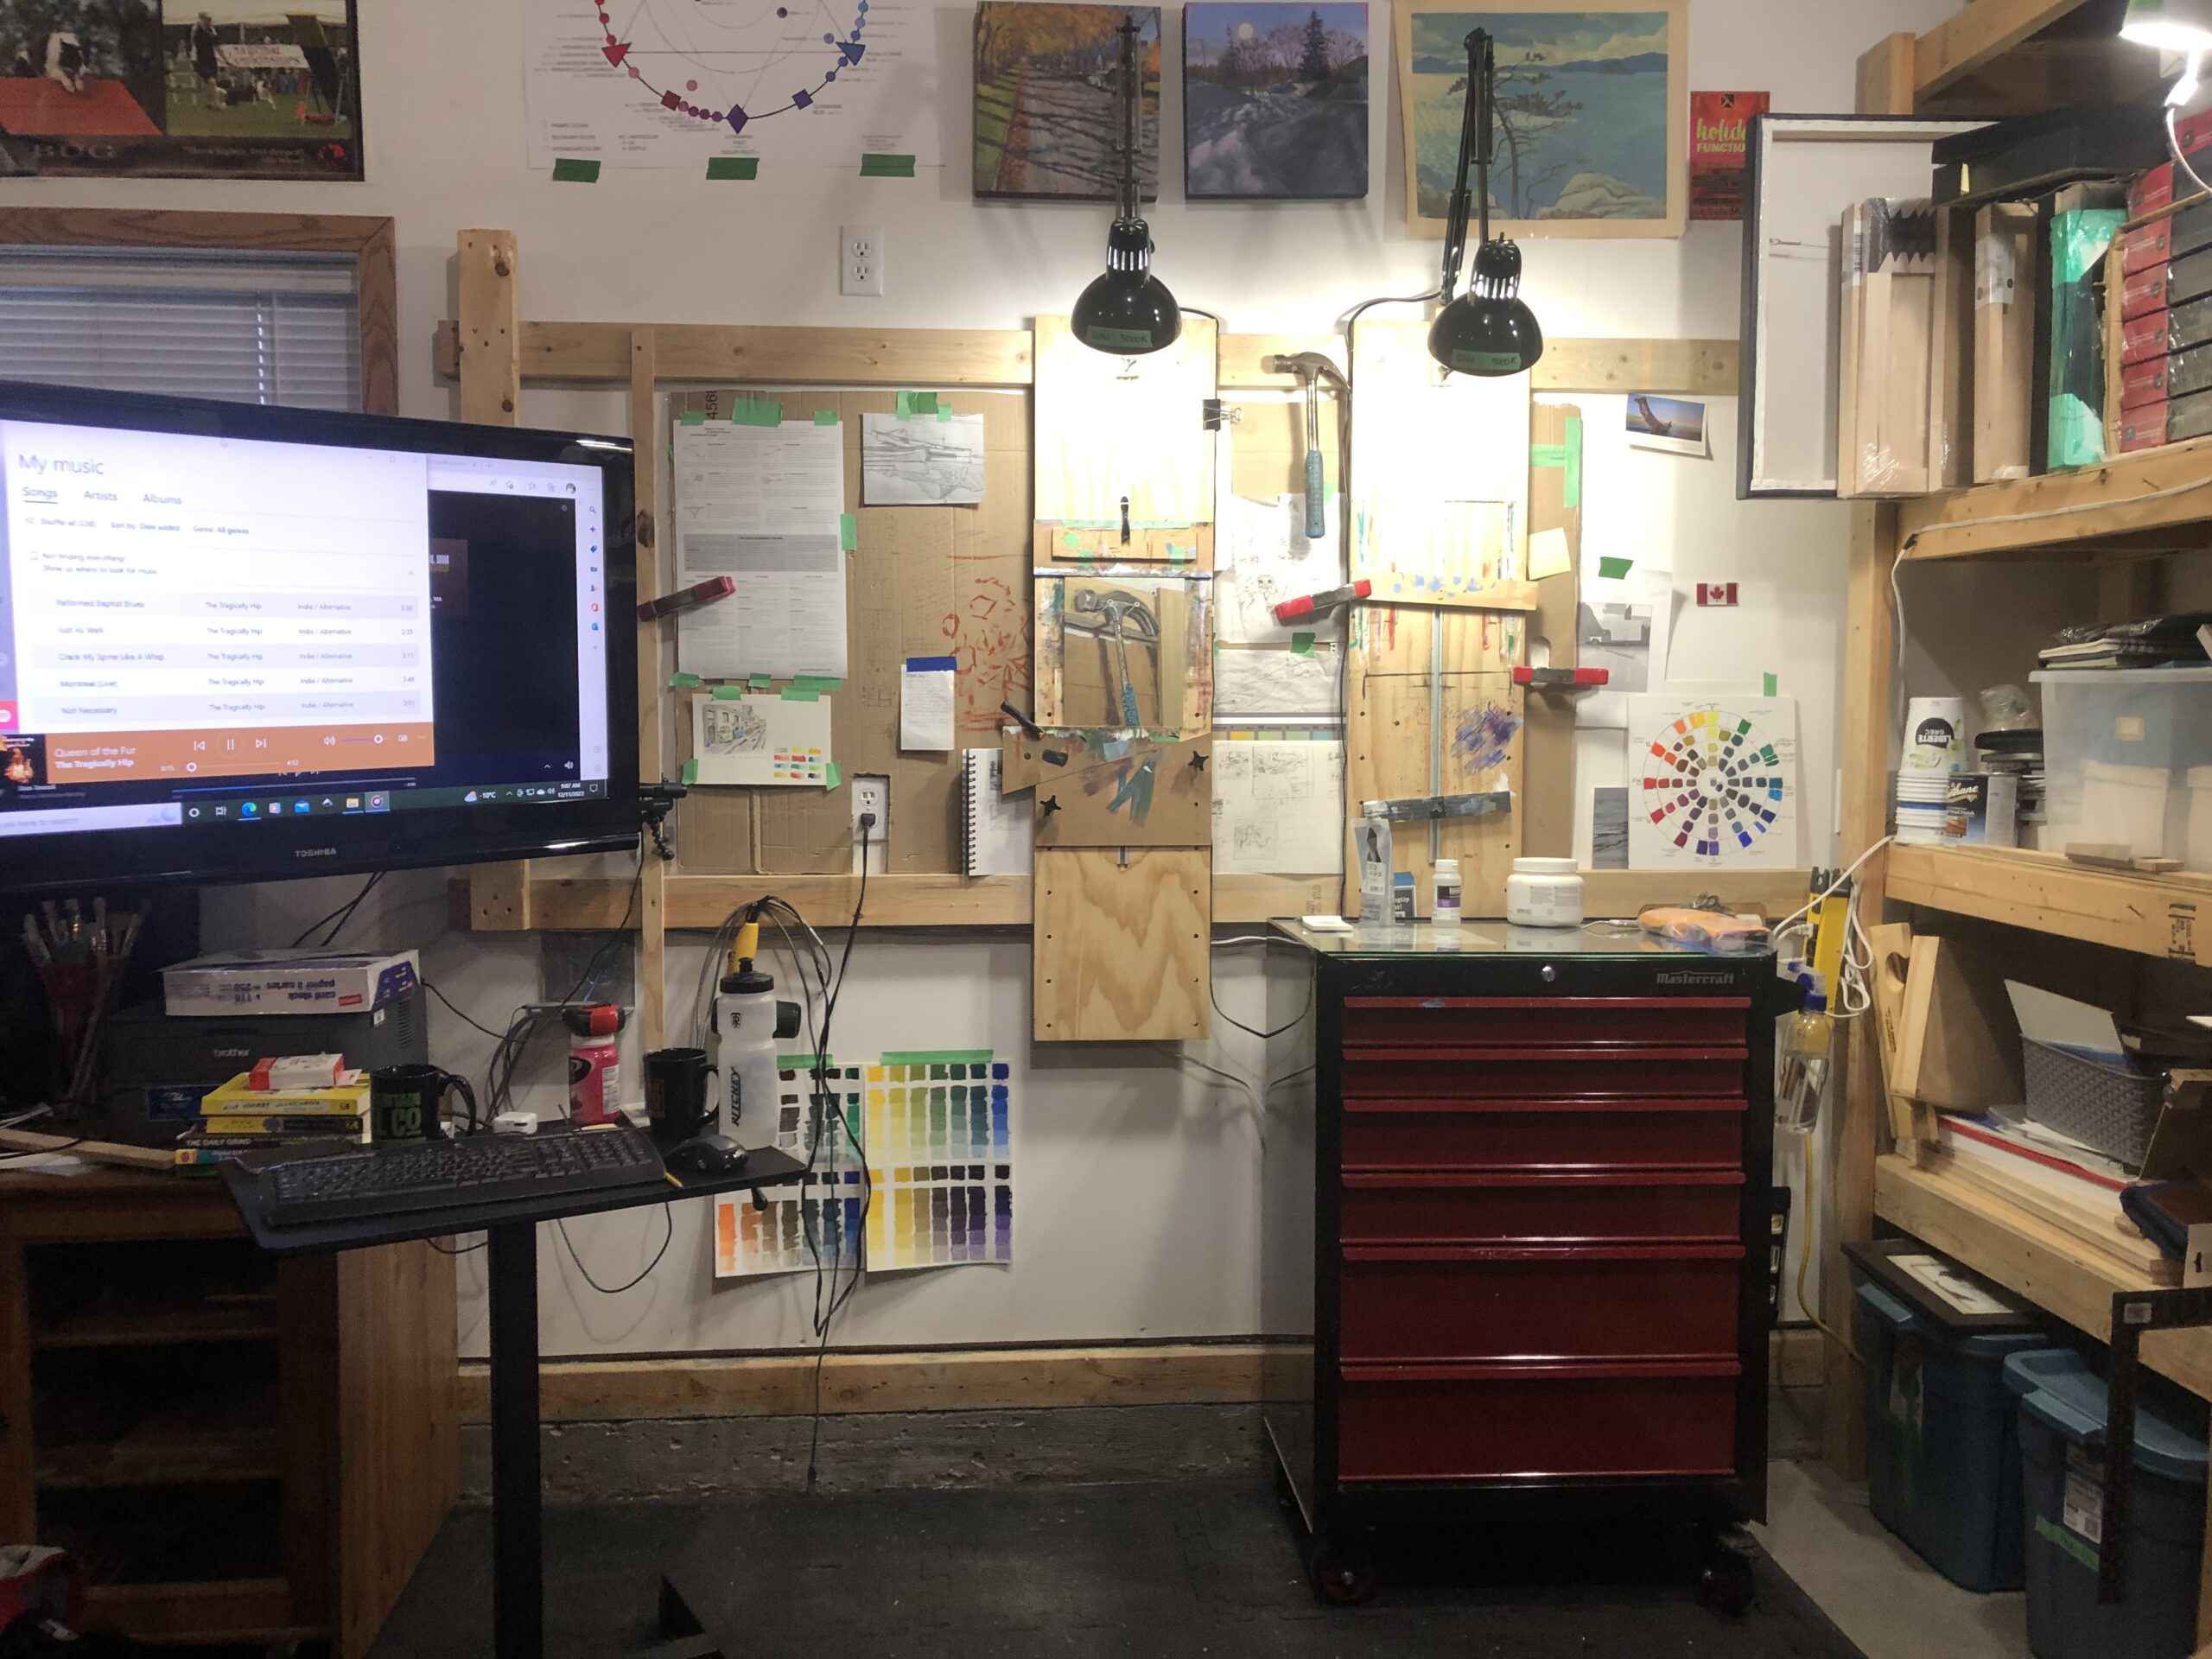
I’ve been using a tool cart as my taboret for a few years now. If you are looking for a portable work surface that has storage for your studio, it is certainly worth a look. They have large castor wheels and sturdy metal drawers of varying depths that are nearly ideal for holding all of the tools and supplies that you need to have at hand. The one I have is 27″ wide and 38.5″ high, which is a great height for me to work at while standing. If you need a different height, there is some variety, so you should be able to find something to meet your needs.
For my acrylic plein air kit, I’ve always used coroplast (corrugated plastic) for my palette. This works great for me, so have been using the same material as a palette on the top of my tool cart. The best way to clean this type of palette, I’ve found, is to let the paint build up to a particular thickness and then peel it off. What I like to do is put a border of masking tape around the outside edge. When the paint is sufficiently thick, I pull the tape and the paint comes off in big, satisfying, sheets.
For oil, I do not have a large palette to work on in the studio. Many oil painters work on glass palettes that can be cleaned neatly with a razer blade scraper. That looks pretty handy. I wanted to try this out and figured I should get a piece of glass to fit the top of my tool cart. If it doesn’t work well with acrylic, for some reason, I can always put my coroplast on top for acrylic and then remove it when I want to paint oils.
This is a simple ‘how to’. I took quite a while to get around to doing this and it turns out that it was really easy. Perhaps you have been overthinking this project as well, and need a nudge.
HOW TO:
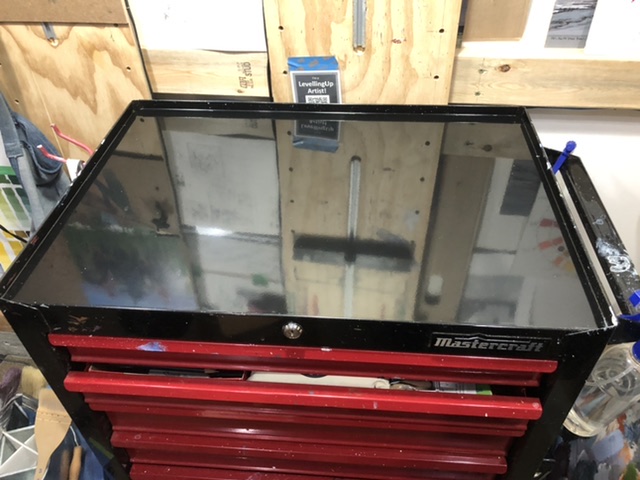
- Measure – The top of my tool box has a 1/2″ lip and the inside dimensions are about 26-3/8″ by 18″.
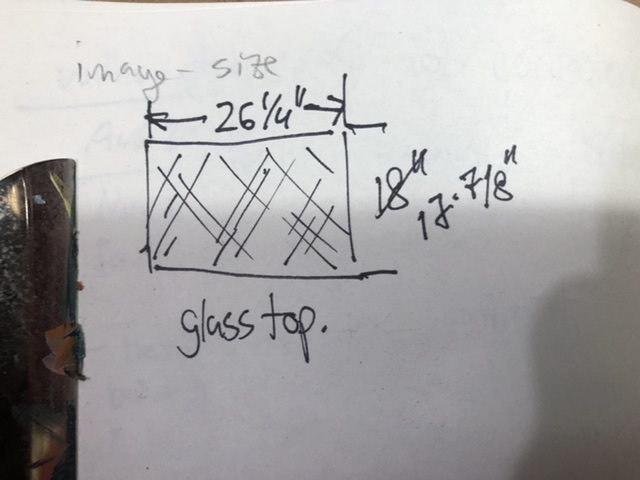
- Draw a sketch – A simple dimensioned drawing will often avoid confusion. To ensure the glass would fit, I took 1/8″ off of my measurements.
- Visit glass store (framers, etc.) – I arrived at the framing store with my dimensioned sketch and a photo of the top of the tool cart. I ordered 5mm thick tempered glass. The thickness was probably a bit overkill, but it does seem robust. This cost about $70 cdn after taxes.
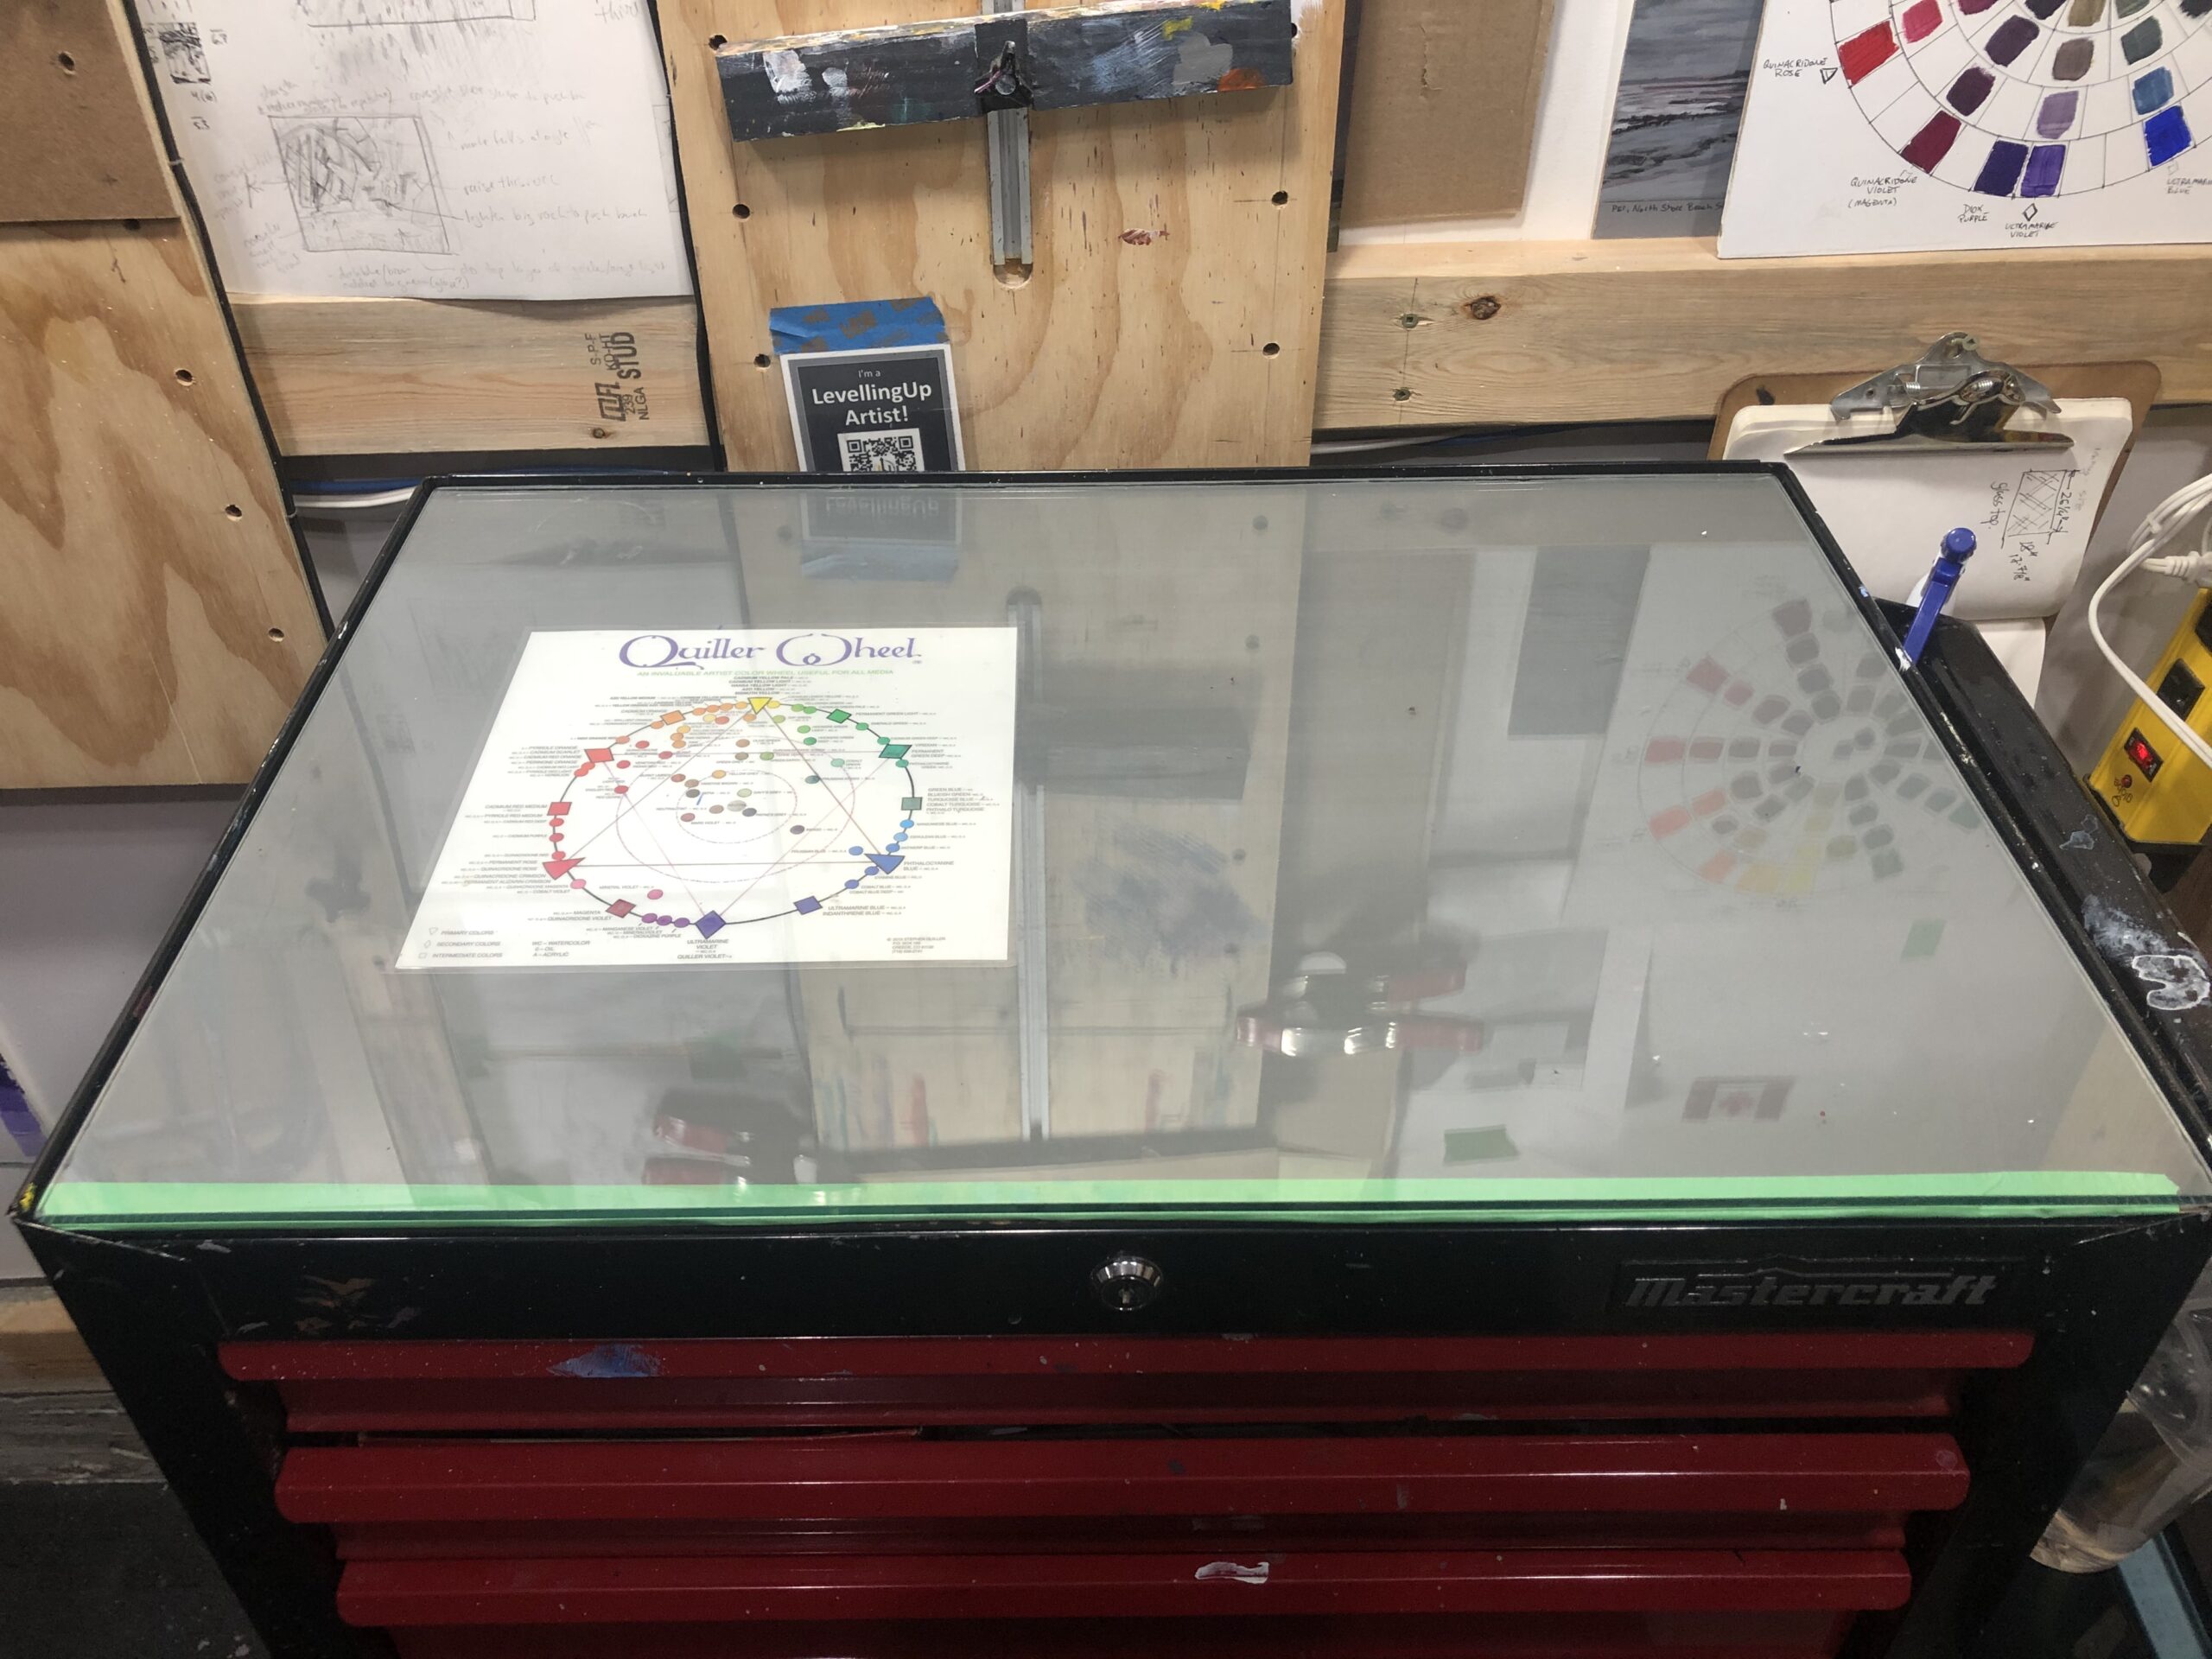
- Install – I wanted to have a neutral grey backing. If it were not winter outside, I would likely have spray painted one side grey. Instead, I cut the cardboard packaging the glass came in to fit the top of the tool cart and then painted it with a neutral grey gesso. Once dry, I placed the cardboard and then the glass in place. Later, I slid a laminated copy of the Quiller color wheel in between.
That’s it. No excuses now, go get that custom glass palette you’ve been wanting.
~JW
